After some years of using the plain old TeamSet files I decided to switch to Oomph setup. Now, here’s a detailed step-by-step-instruction to install and configure a working environment.
First, download the Eclipse Oomph installer for your operating system from the Eclipsepedia home page. Then load the initial configuration file from our Git repository.
For MacOS and Linux operating systems you have to untar the downloaded installer into an empty directory. Windows user can start the installer immediately.

This is the initial start screen of the installer:

Drag’n’drop the configuration file which you just downloaded from Git onto the title bar of this installer. You’ll be asked to switch to advanced mode:

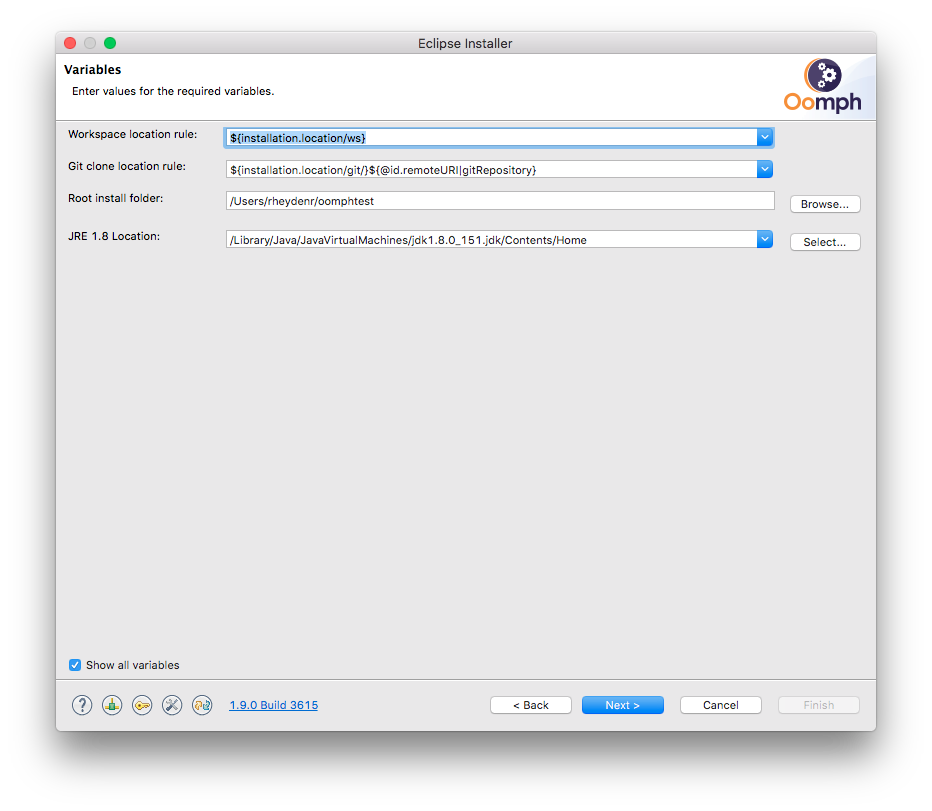
Click to „Switch to Advanced Mode“. The next screen shows some settings for your new environment. You can skip this dialog or set the entries according to your needs:
On next page you can see all the steps which will be executed during install process:

Press „Finish“ button and wait 🙂 All the needed software libraries will be downloaded:

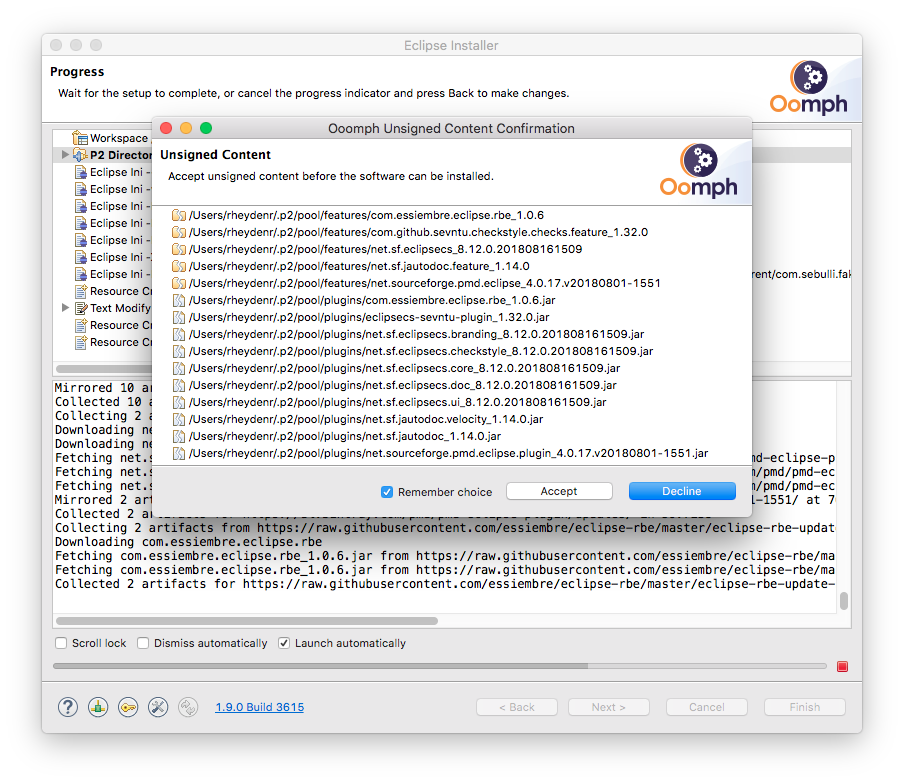
During the installation process you’ll be asked to „Accept unsigned content“. You can safely accept this:
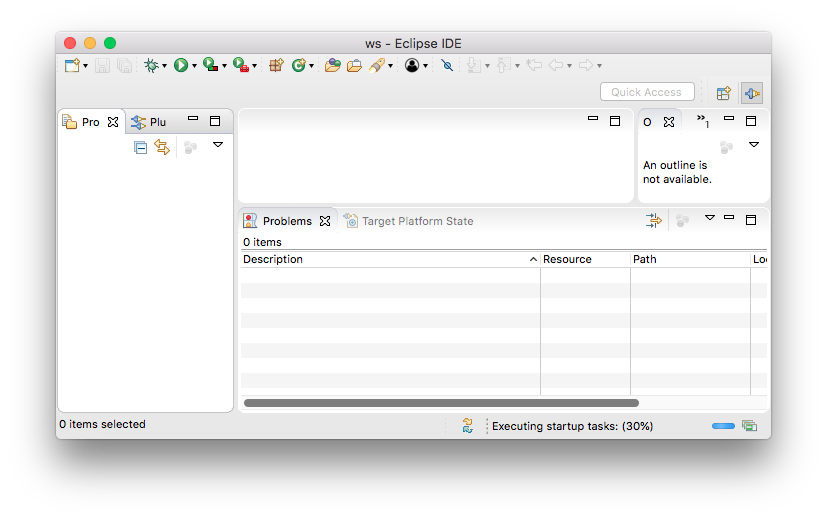
After the Oomph installer has finished a new Eclipse IDE is launched. Switch to the Workbench by clicking the button in the upper right corner. The IDE is initially empty:
Oomph will import all the projects into the workbench from git repository.
Now comes the hard work 😉
First, go to Preferences 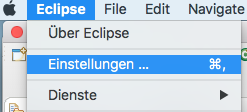 , search for „target“
 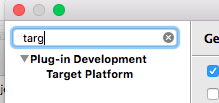 and set the target platform:
  . Note: If this doesn’t work, cancel this dialog and set it later on.
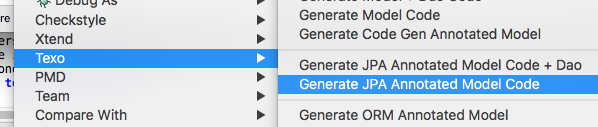
Generate the entity classes from model. You have to expand the project com.sebulli.fakturama.model, step into model directory and right click on Fakturama.ecore:
The classes are generated in the directory src-gen.
Now let’s set the target environment. Expand the org.fakturama.target project and open the org.fakturama.target.target file. Sometimes it appears in a failed state:
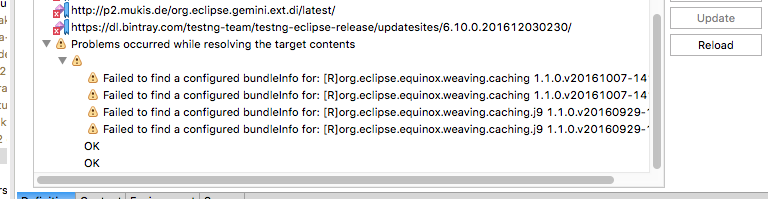
Press the „Reload“ button to update the site information. After this, the target definition should appear like the following screen shot:
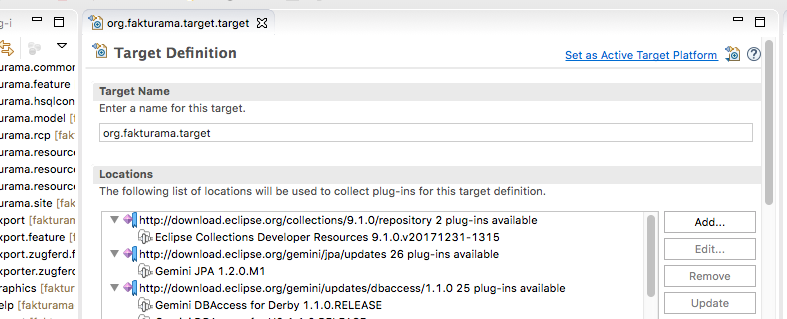
Press the link Set as Active Target Platform. The „Problems View“ may sho an error like this:
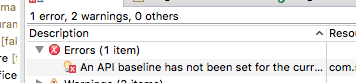
You can set it via Eclipse Preferences. By the way you can retry to set the active target platform like mentioned above. Setting the API baseline:
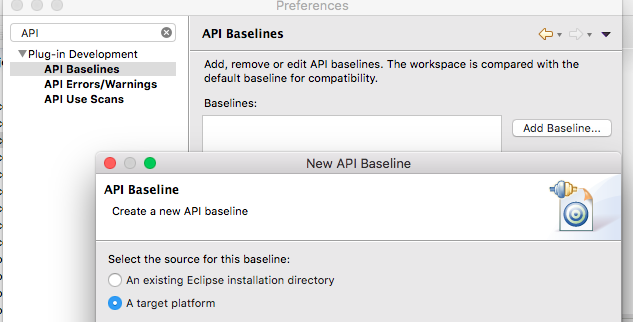
Press „Add Baseline…“. Then select „A target platform“. Now you can select the Fakturama target platform:
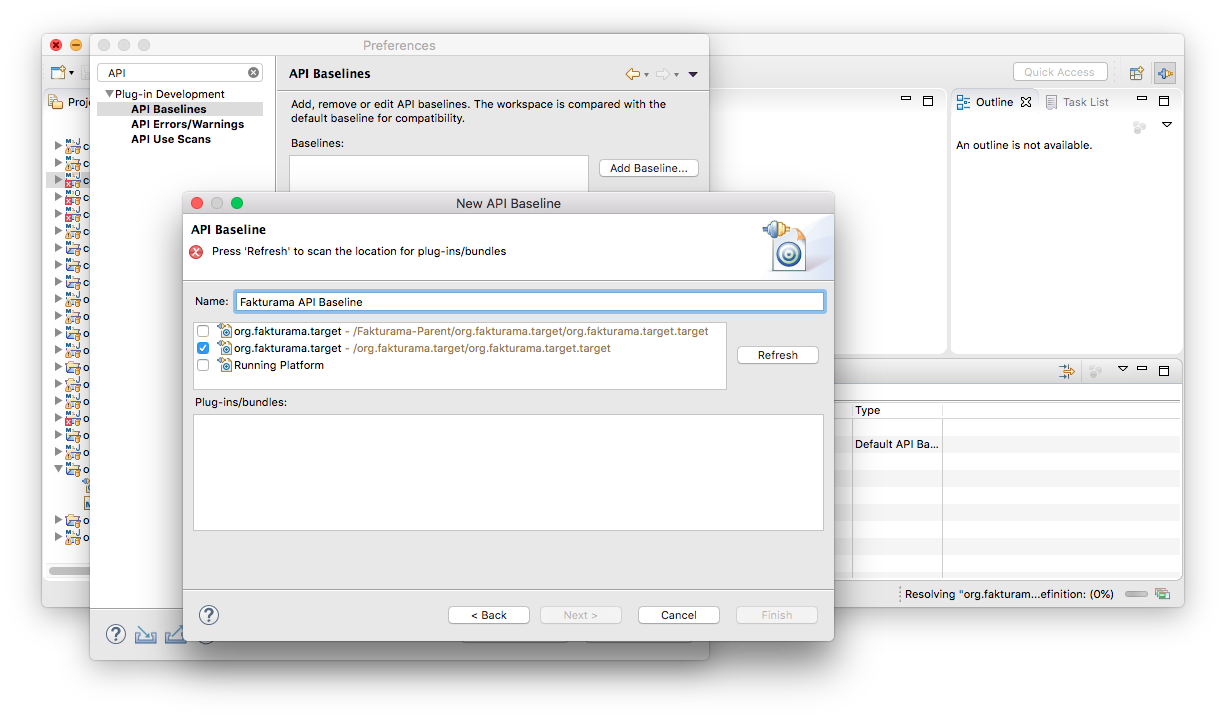
Press „Refresh“. The dialog should now show the contents of this target platform:
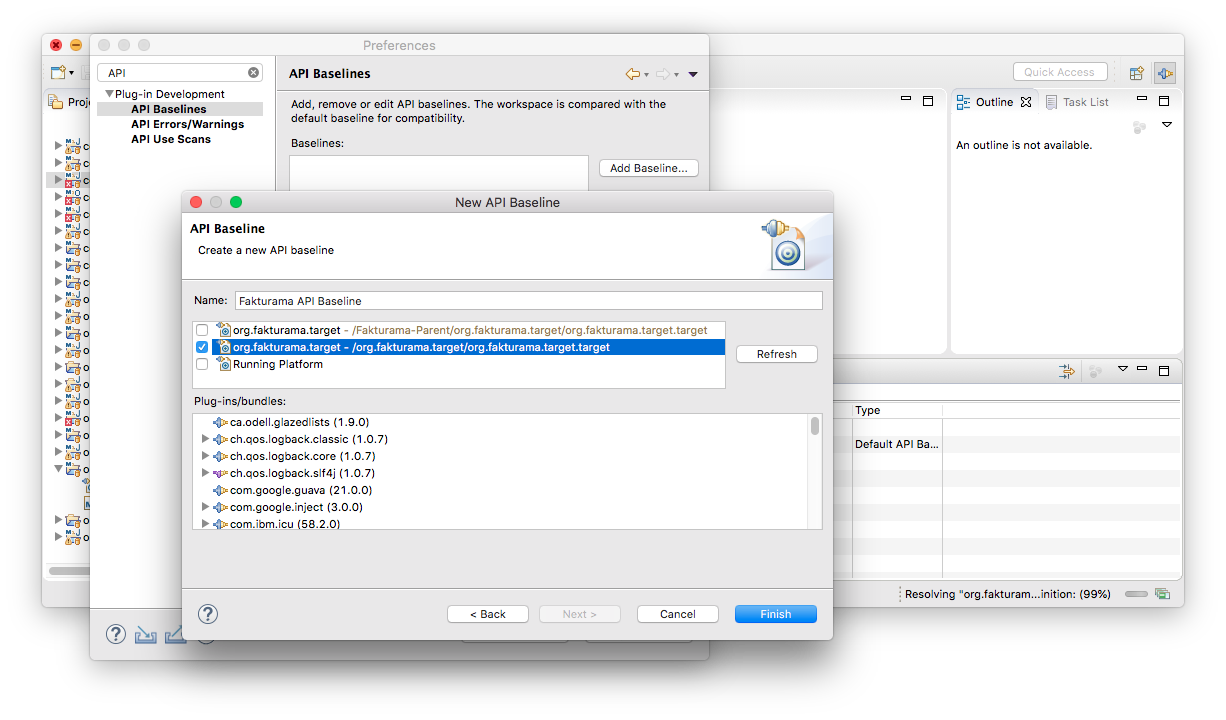
If an error occurs, you can switch between the target platforms and try again.


